Android中的按鈕01
1.介紹
當我們要開發安卓App時,第一個步驟就是安裝Android Studio。
可以在官方網站上頭找到下載點。
Android Studio官方網站
https://developer.android.com/studio
2.開啟專案
對於學習的一開始,為了不造成認知上的混淆,推薦空白專案。
但不建議從空白資料夾開始試圖建立專案,難度極高。
空白專案的英文名稱是Empty Activity
3.關於空白前端
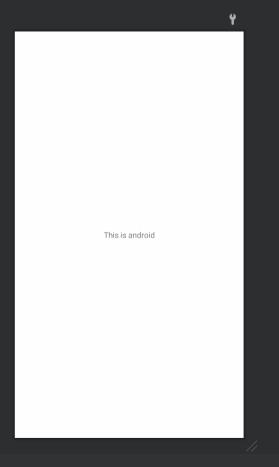
Android 的前端採取的是XML語法。

<?xml version="1.0" encoding="utf-8"?>

<!--這是主要的圖形話界面區域-->
<androidx.constraintlayout.widget.ConstraintLayout xmlns:android="http://schemas.android.com/apk/res/android"
    xmlns:app="http://schemas.android.com/apk/res-auto"
    xmlns:tools="http://schemas.android.com/tools"
    android:layout_width="match_parent"
    android:layout_height="match_parent"
    tools:context=".MainActivity">

    <!--這裡是下方This is android的文字方塊-->
    <TextView
        android:layout_width="wrap_content"
        android:layout_height="wrap_content"
        android:text="This is android"
        app:layout_constraintBottom_toBottomOf="parent"
        app:layout_constraintLeft_toLeftOf="parent"
        app:layout_constraintRight_toRightOf="parent"
        app:layout_constraintTop_toTopOf="parent" />

</androidx.constraintlayout.widget.ConstraintLayout>
4.關於空白後端
這是一個空白的後端java
package com.example.buttonset;

import androidx.appcompat.app.AppCompatActivity;

import android.os.Bundle;

public class MainActivity extends AppCompatActivity {

    @Override
    //這個函數,會在App啟動時觸發。
    protected void onCreate(Bundle savedInstanceState) {
        super.onCreate(savedInstanceState);
        setContentView(R.layout.activity_main);
    }
}
5.在前端建立一個新按鈕

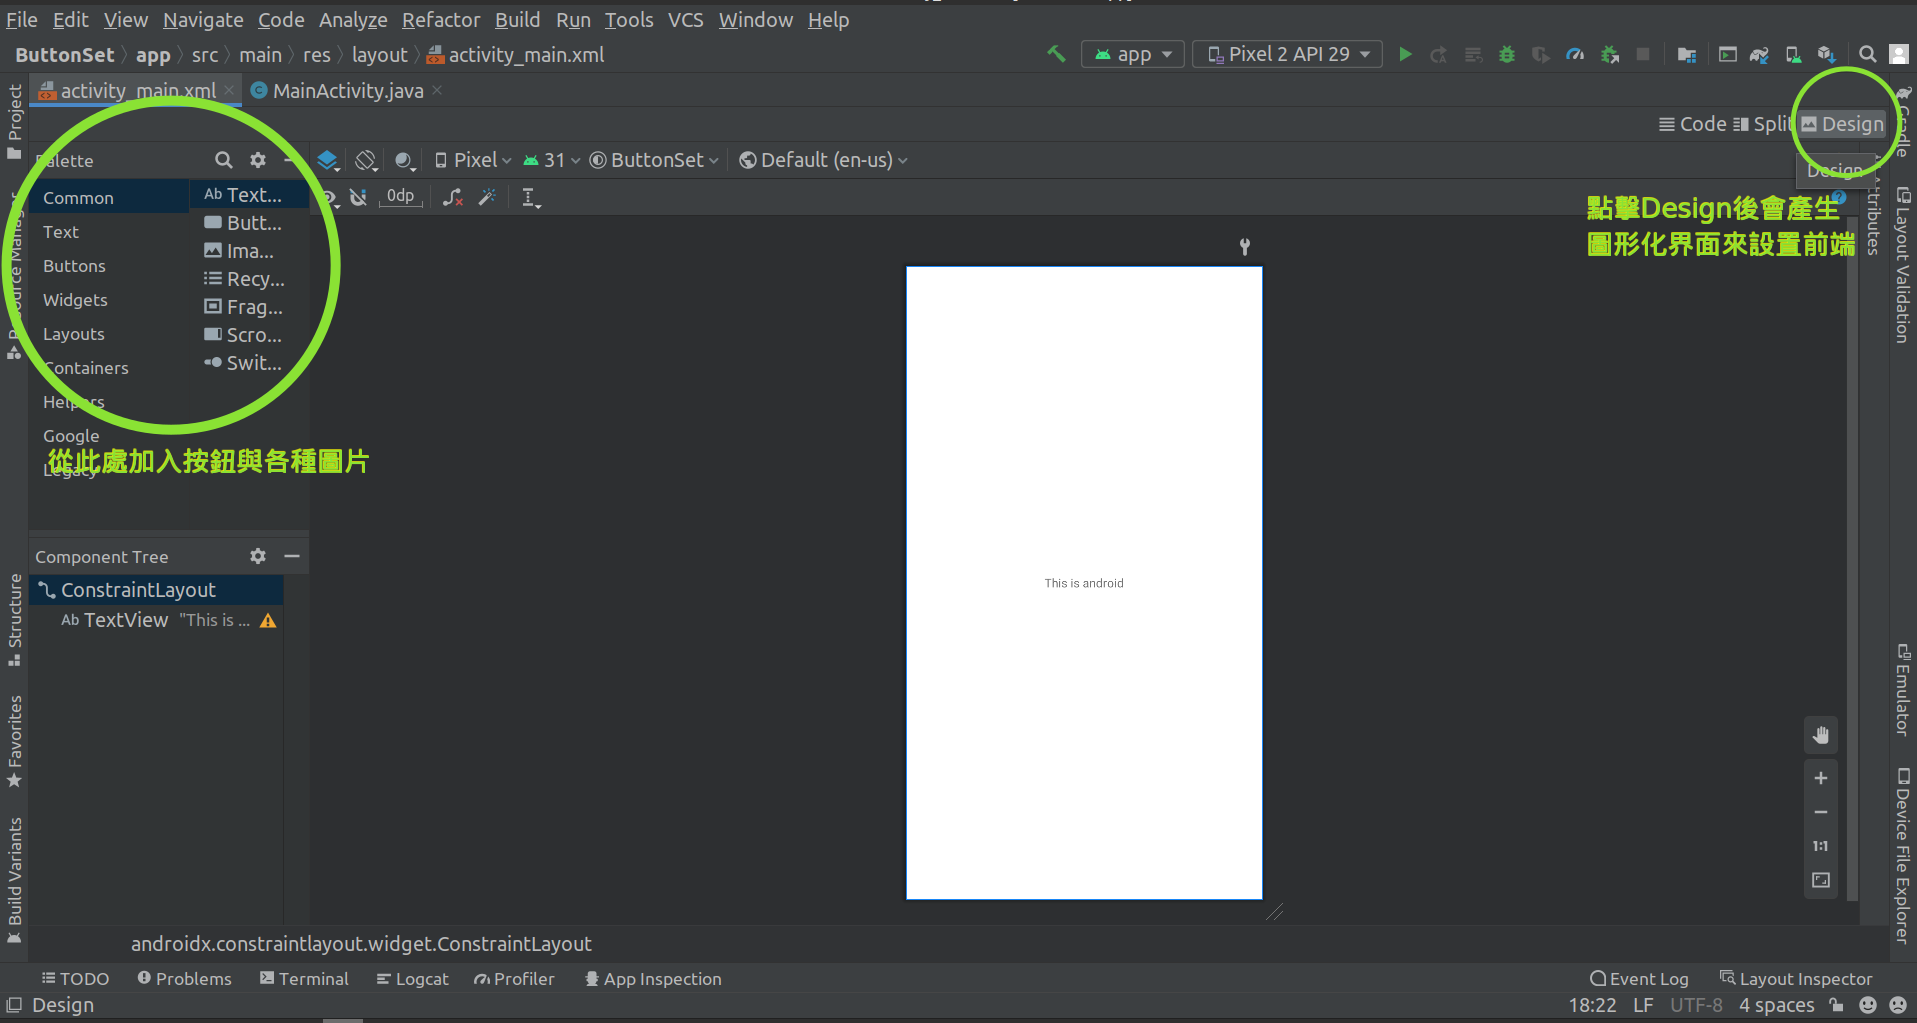
將按鈕拖曳到畫面中的某個位置
以下是加入按鈕之後的XML格式
<?xml version="1.0" encoding="utf-8"?>
<androidx.constraintlayout.widget.ConstraintLayout xmlns:android="http://schemas.android.com/apk/res/android"
    xmlns:app="http://schemas.android.com/apk/res-auto"
    xmlns:tools="http://schemas.android.com/tools"
    android:layout_width="match_parent"
    android:layout_height="match_parent"
    tools:context=".MainActivity">

    <TextView
        android:id="@+id/textView"
        android:layout_width="wrap_content"
        android:layout_height="wrap_content"
        android:text="This is android"
        app:layout_constraintBottom_toBottomOf="parent"
        app:layout_constraintLeft_toLeftOf="parent"
        app:layout_constraintRight_toRightOf="parent"
        app:layout_constraintTop_toTopOf="parent" />

    <!--這裡是剛剛加入的按鈕-->
    <!--裡頭的layout區塊定義了他在畫面中的位置-->
    <!--id則可以讓後端的java可以對按鈕進行定位與偵聽點擊-->
    <!--text為按鈕的名稱-->
    <!--
        請注意下列這段
        android:onClick="onBtnClick"
        這代表說,當這個按鈕被點擊的時候
        就會觸發主函數裡頭的onBtnClick()函數
    -->
    <Button
        android:id="@+id/button"
        android:layout_width="wrap_content"
        android:layout_height="wrap_content"
        android:onClick="onBtnClick"
        android:text="Button"
        app:layout_constraintBottom_toBottomOf="parent"
        app:layout_constraintEnd_toEndOf="parent"
        app:layout_constraintStart_toStartOf="parent"
        app:layout_constraintTop_toBottomOf="@+id/textView" />

</androidx.constraintlayout.widget.ConstraintLayout>
6.連接上後端
package com.example.buttonset;

import androidx.appcompat.app.AppCompatActivity;

import android.os.Bundle;

import android.view.View;//當我們要操縱前端的時候,一定要引入View這個類別,否則會直接在按下按鈕時崩潰
import android.widget.TextView;//TextView則是畫面上的靜態文字框的內容,剛剛我們原本設置為This is android

//這是主函數
public class MainActivity extends AppCompatActivity {

    //此處會附蓋掉父類別的onCreate,也就是說父類別也有"在啟動時會觸發的函數"
    @Override
    protected void onCreate(Bundle savedInstanceState) {
        super.onCreate(savedInstanceState); //調用父類別的啟動函數
        setContentView(R.layout.activity_main);//設置主畫面基本用戶界面
    }

    //當按鈕被壓下時觸發的函數
    //記得在前端的android:onClick="onBtnClick"要標注
    public void onBtnClick(View view){
        //R.id.textView鎖定id為textView的前端物件,此處是那段This is android文字
        TextView textView = findViewById(R.id.textView);
        //修改那段文字
        textView.setText("Hello");
    }
}